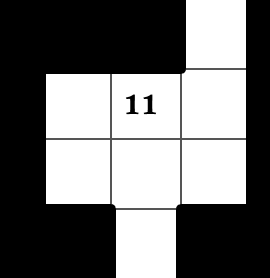
Area 11: Armory: This mostly empty room is lined with rotting wooden racks.
Area 12: Basement of An Abandoned House: This area is accessed from the stairs leading down for an abandoned house on the street flanked by farmers’ shops. It is filled with rotting containers.
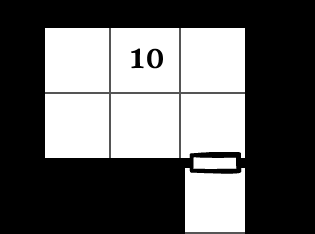
Area 10: Conjuring Chamber: A thick, hot, acrid haze fills the room. It is hard to see more than about 5 feet ahead in anything resembling detail. In the center of the room is a quicksilver chaos star that glows red hot under the demonic creature that is bound in this room, its form is uncertain through the haze but it calls itself Alal and promises the characters riches if they manage to free it.
Area 9: Communal Bath: This room is a communal bathing area with a stone bench all around the outside walls of the room and a pool about 5 feet deep in the center. Red and white tiles adorn the floors and walls. The still water at the bottom of the bath is a deep purple and a thick yellow fungus covers much of the room.
Yellow Mold: Can only be destroyed by setting on fire, attempting to attack the mold results in it spraying toxic spores across the room. If so, all characters make a Save vs Death Ray/Poison or die.
Treasure: Iron trunks hidden by an invisibility spell contain 200 sp and 40 gp.
Area 8: Sacrificial Prison: Rusty iron cages are arranged in three rows along the length of this room. A thin layer of ashy mud covers the floor and a thick haze hangs in the dank, acrid air.
Pit Trap: A 10′ wide, 10′ deep pit guards the exit northward from this room. A false floor panel that is hinged on the inside hides it, opening when walked over (1-3 in 6).
Area 7: Acolyte Dormitory: The room is filled with rotting bunks and rusted iron footlockers. A pair of Wights chitter at the back end of the room. The Wights are adorned in tattered white robes with the symbol of Ahamara emblazoned on the front.
Wights (2) AC 5 (ancient bronze lamellar armor) HD 3 (11 hp) Move 9″ Energy Drain: When a Wight scores a hit against a character in combat, that character loses one experience level and all of its corresponding benefits except for noble ranks, titles, and incomes. Characters reduced to below first level by this ability are turned into a Wight. Characters otherwise killed by a Wight are also turned into a Wight. Treasure Carried: one Wight has bronze lamellar armor +1
Room Treasure: 600 silver pieces, 600 gold pieces, 1 worked piece of jade (worth 200 gp, 1 worked piece of lapis lazuli (worth 15 gp) are to be found in the rusted iron footlockers
Area 2a: Upper Stair Landing: This room is a rather plain stone chamber that serves as the upper landing for a set of stone stairs on the western end of the room.
Area 3a: Drinking Well: This otherwise empty room contains a well that was once used to supply drinking water for the temple.
Area 6: Hall of Heroes: The ceiling of this room has collapsed partially on its northern end, creating a small gap through to the alleyway above that lets in sunlight and fresh air. The walls are lined with reliefs of different heroes of the cult and historical battles. A relief of Ahamara on a throne with two panther heads at the ends of the arms sits over portcullis on the southeastern side.
Area 5: Cultic Library: The library has been surprisingly well preserved and many scrolls and books in long-forgotten ancient tongues are still contained in the shelves that line the walls. The Lizard-Men in Area 2 have created a stockpile of food here, most of it is rotten and useless but a days worth of rations can be scavenged from it.
Spear Trap: Spears shoot out of the wall dealing 2d6 damage when at least half of the party has passed into the room from Area 2 (1-2 in 6). There is a 1 in 20 chance of each spear being poisoned.
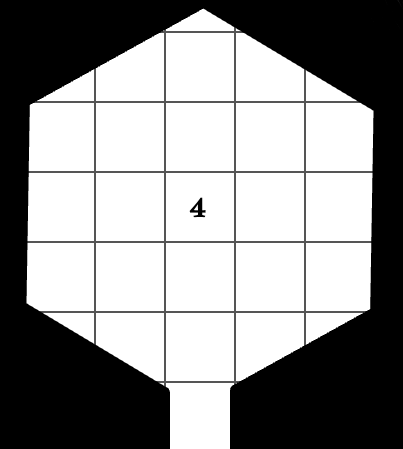
Area 4: Inner Sanctum: This room is in almost pristine condition, save for the thin layer of mildew covering every stone surface. The center of the room is dominated by a marble statue of Ahamara, Duke of Hell and Demon God of Lust depicted as an effeminate young man. The outside wall has a rim that could function as a bench and is lined with aged bronze urns used to encase offerings to the fell god.
Treasure: The bronze urns contain 250 gp between them
As part of my resolutions for this new year, I decide that time has finally come to actually properly blog about my adventures in running and thinking a lot about tabletop roleplaying games. The first thing that actually got me excited enough to actually start this was the #dungeon23 trend started by Sean McCoy on Twitter.
To facilitate under taking such a project I decided to spend the first day of the month on creating a layout of a floor with a number of rooms equal to the days in that month as well as the first room description to help make sure everything flows together as a coherent concept. I chose to set this in my home setting (which I hope to talk a lot more about on this blog in the coming weeks, in the undercity of the city of Myrath which has been used as the home base for several dedicated campaigns and my open table. It’s an ancient city with a rich history that lends itself to having an expansive underworld of ruins, crypts, sewers, and forgotten basements. I’m sure this complex will be expanded upon as time goes on and I have more ideas for it as well but it’s a good basis for a relaxation project worked on one day at a time. I also decided that I would be developing this to be as system agnostic as possible so it could be run using any old school fantasy roleplaying system. So even though I will be writing up certain statistics based on the 1974 Edition feel free to replace them with whatever makes sense for the system you’re using.
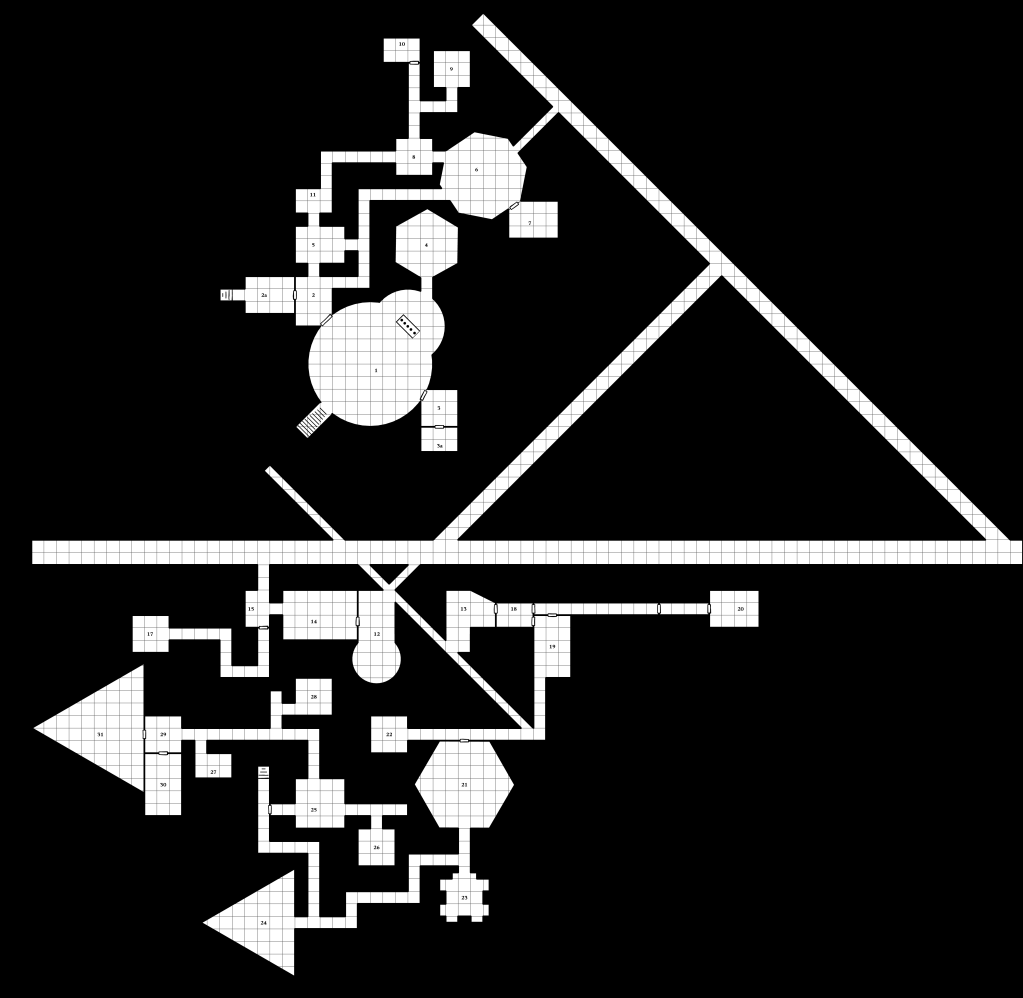
Using dungeonscrawl I created the above layout which represents the basements of several building nearby one another connected by the city’s sewer system. A good and proper first level for this project.
The First Three Rooms
Because I missed out on being able to write up the first two rooms on January 1st and 2nd, I present to you the first three rooms:
Area 1: Ruined Chaos Temple Chapel: This room is accessed via a set of stairs that are hidden behind a locked door in the back room of rundown inn that can only be accessed by back alley. The room is relatively empty except rubble strewn across the ground and an altar of milky white stone carved with glowing runes. The stone of the altar feels almost like dry soap when touched. The atmosphere is warm and humid and reeks of mildew. There are three exits to this room: a locked door of wrought iron on the northwestern side, a simple rotting wooden door on the southeastern side, and a passage behind the altar from which murmuring can be heard.
Area 2: Meditation Chamber: Broken pews litter the ground of this dank, moldy chamber that appears to have once been a place of prayer and contemplation. Five-Lizard-Men huddle around a dying campfire in the middle of the room. The players could discover from talking to the Lizard-Men that once they’ve cleared the other factions from this area of the dungeon, their leader plans to use the undercity as a staging area to move against Myrath. The Lizard-Men are carrying gold ingots equal to 2,000 gp, and their leader has a scroll of charm personand a spear +2.
Lizard-Men (5) AC 4 (steel lamellar armor and shield) HD 2+1 (8 HP) Move 6″
There are three exits from this room: a waterlogged wooden door on the western wall, a short passage on the northern wall through which one can see some light, and a darker passage on the eastern wall.
Area 3: Storage Room: The shelves that once lined the walls of this room have mostly been completely rotted out with a few exceptions on the southern wall. The air hear is slightly lighter with an almost woody smell. A small group of about 14 Gnomes seem to have made a temporary nest on one of the southern shelving units. Talking to the Gnomes reveals that they are searching for a sword that once belonged to an elfish hero of yore and if the players are friendly and promise to return the artifact to the Elfhold on level 3 the Gnomes will gift them a treasure map that leads to the sword. The Gnomes carry 2,000 silver pieces between all of them.
Gnomes (14) AC 5 (bronze scale armor and shield) HD 1 (3 HP) Move 6″
There is one exit from this room: a jammed wooden door on the southern wall.